前言
一般情況下,我們會以自簽憑證方式應用在測試環境(期間)。但現在如果你使用 Azure 雲端做為測試環境,我們可以有另一個選擇:在使用 Azure Public IP 且啟用 DNS Prefix 標籤情境下,為你的 FQDN 免費建立一個公共且有效的 CA 憑證,達到相同的目的。 本篇文章參考 Certificate Generation for an Azure Public IP with your DNS Prefix 且使用作者程式進行實作並記錄下操作流程,若有興趣的朋友可以前往原文參考。
Azure Public IP 自身提供 DNS 標籤方式為你的服務提供 FQDN,提供技術人員快速啟用服務與並測試。啟用時會註冊在 Azure DNS 服務上,其網址格式為:<CUSTOM DNS LABEL>.<AZURE REGION NAME>.cloudapp.azure.com。
前置工作
- 安裝 Azure CLI
- 安裝 Certbot
- 安裝 OpenSSL
- 前往 Certificate Generation for an Azure Public IP with your DNS Prefix,使用 Git Clone 將相關檔案下載下來。
操作流程
我的實作環境是在 Windwos 作業系統下使用 Git Bash
- 登入 Azure 訂閱
az login

# (選擇性) 設定訂閱
az account set -s  [你的訂閱ID]
- Git Clone https://github.com/mspnp/letsencrypt-pip-cert-generation.git 到你的專案目錄下,並切換至此目錄

- 為了建立 certificate ,我們需要證明網域所有權。我們將在 Azure Blob Storage 上使用 Azure Application Gateway 來實現。輸入下列指令建立我們所需要的服務。
# 設定資源群組名稱
RGNAME=rg-lets-encrypt-cert-validator

# 設定 domain 所在區域
LOCATION=japaneast

# 你的 subdomain (prefix) name
DOMAIN_NAME=duran-harbor

# 設定 domain name
FQDN="${DOMAIN_NAME}.${LOCATION}.cloudapp.azure.com"

# 建立資源群組
az group create -n $RGNAME -l $LOCATION

# 進行部署: Public IP (包含 DNS prefix), Virtual Network, Storage Account 與 Application Gateway
az deployment group create -g $RGNAME -f resources-stamp.json --name cert-0001 -p location=${LOCATION} subdomainName=${DOMAIN_NAME}

# 取得 Azure Storage Account 名稱
STORAGE_ACCOUNT_NAME=$(az deployment group show -g $RGNAME -n cert-0001 --query properties.outputs.storageAccountName.value -o tsv)

# 在 storage account 啟用 web hosting  (不能透過 ARM 完成)

az storage blob service-properties update --account-name $STORAGE_ACCOUNT_NAME --static-website true --auth-mode login
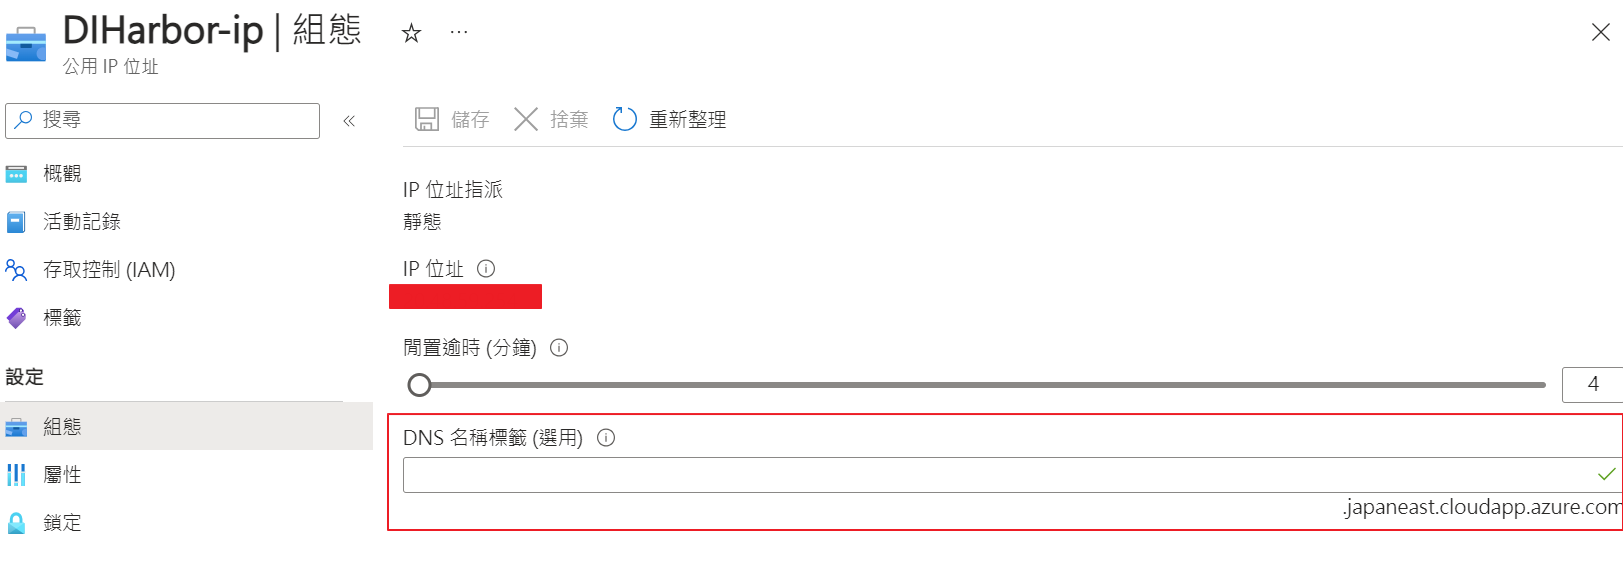
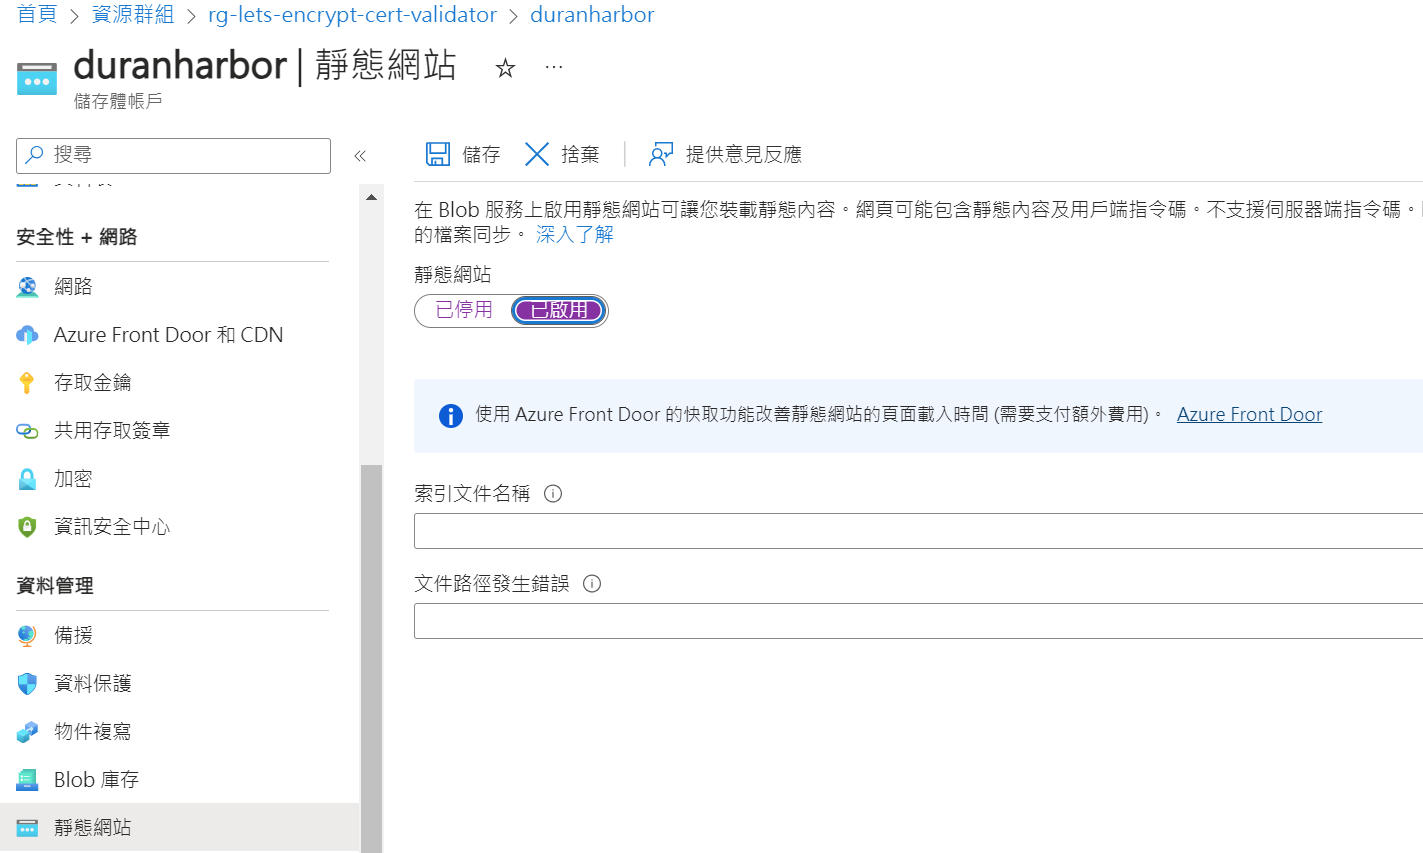
最後一個指令在實作的時候發現沒有權限 (如下圖)

所以我登入 Azure Portal,直接手動啟用
- 上傳測試驗證文件,用於測試 Azure Application Gateway 的連接和路由
# 在本地端建立測試檔案
echo pong>ping.txt

# 上傳檔案
az storage blob upload --account-name $STORAGE_ACCOUNT_NAME -c \$web -n ping -f ./ping.txt --auth-mode key
- 透過下列指令進行測試
# 驗證您可以直接從 Storage 存取該文件 (應該會看見回覆 "pong")
curl "$(az storage account show -g $RGNAME -n $STORAGE_ACCOUNT_NAME --query primaryEndpoints.web -o tsv)/ping"

# Azure Application Gateway 正在正確地公開文件 (應該會看見回覆 "pong")
curl http://${FQDN}/ping

# Azure Application Gateway重寫規則適用於 Let's Encrypt (應該會看見回覆 "pong")
curl http://${FQDN}/.well-known/acme-challenge/ping
回覆的內容會像下圖

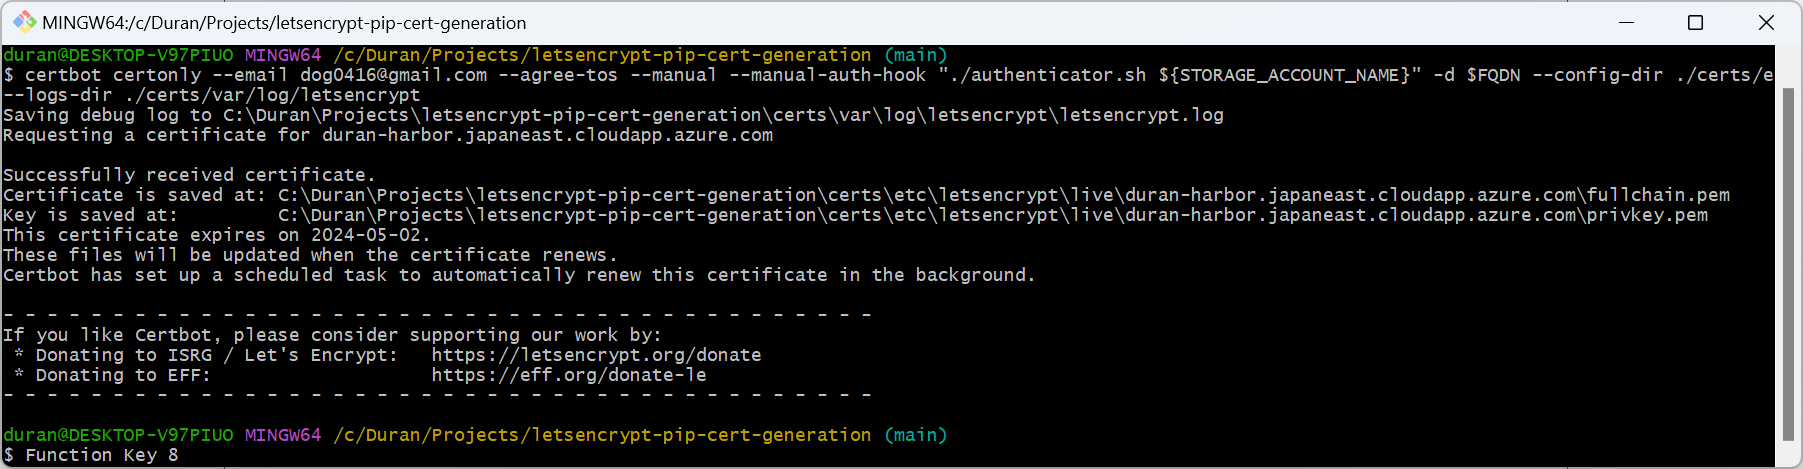
- 接下來我們要透過 Certbot 產生憑證。透過 admin 權限執行下列指令
注意: 若你的網站需要 RSA 類型的金鑰,請增加 –key-type rsa 參數
certbot certonly --email changeme@gmail.com --agree-tos --manual --manual-auth-hook "./authenticator.sh ${STORAGE_ACCOUNT_NAME}" -d $FQDN --config-dir ./certs/etc/letsencrypt --work-dir ./certs/var/lib/letsencrypt --logs-dir ./certs/var/log/letsencrypt
- 切換目錄後,可以透過無密碼或有密碼方式產生憑證
cd ./certs/etc/letsencrypt/live/${FQDN}/

# Password-less
openssl pkcs12 -export -out ${DOMAIN_NAME}.pfx -inkey privkey.pem -in cert.pem -certfile chain.pem -passout pass:

# Or with password
openssl pkcs12 -export -out ${DOMAIN_NAME}.pfx -inkey privkey.pem -in cert.pem -certfile chain.pem
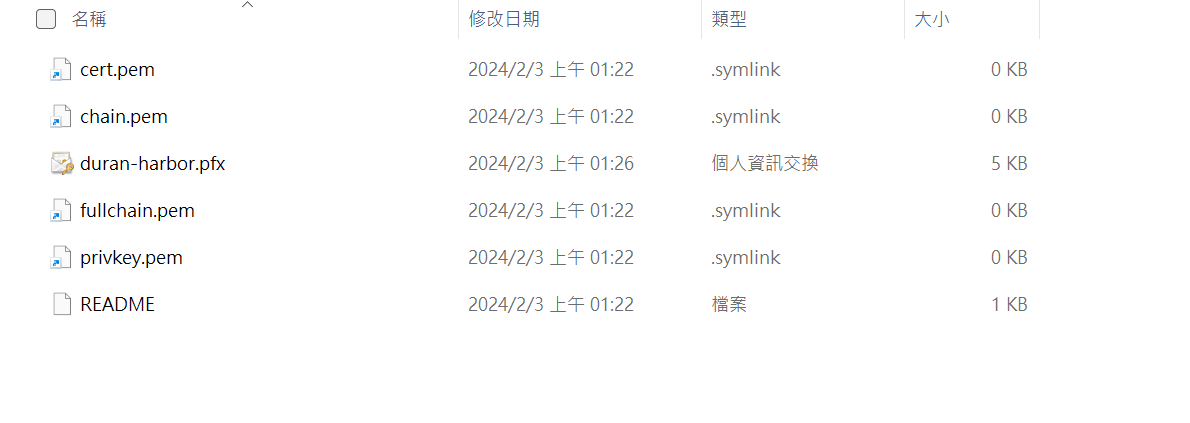
即可看見憑證已經產生,大功告成
- 事後透過下列指令刪除資源群組
az group delete -n $RGNAME --yes
參考資料
Certificate Generation for an Azure Public IP with your DNS Prefix